Bushcraft Basics: Must-Have Skills and Tools for Wilderness Survival
Discover the essential bushcraft skills and tools needed to survive in the wild. Learn fire-making, shelter building, water purification, and more for outdoor self-reliance.
Bushcraft basics are the foundational survival skills and essential tools needed to thrive in the wilderness. Whether you're a beginner or sharpening your outdoor knowledge, mastering fire-making, building shelters, finding water, using bushcraft tools, and understanding nature is at the heart of self-reliant living. This guide covers the key elements beginners need to get started in bushcraft, from must-have gear to fundamental techniques—helping you build confidence in the wild with practical know-how.
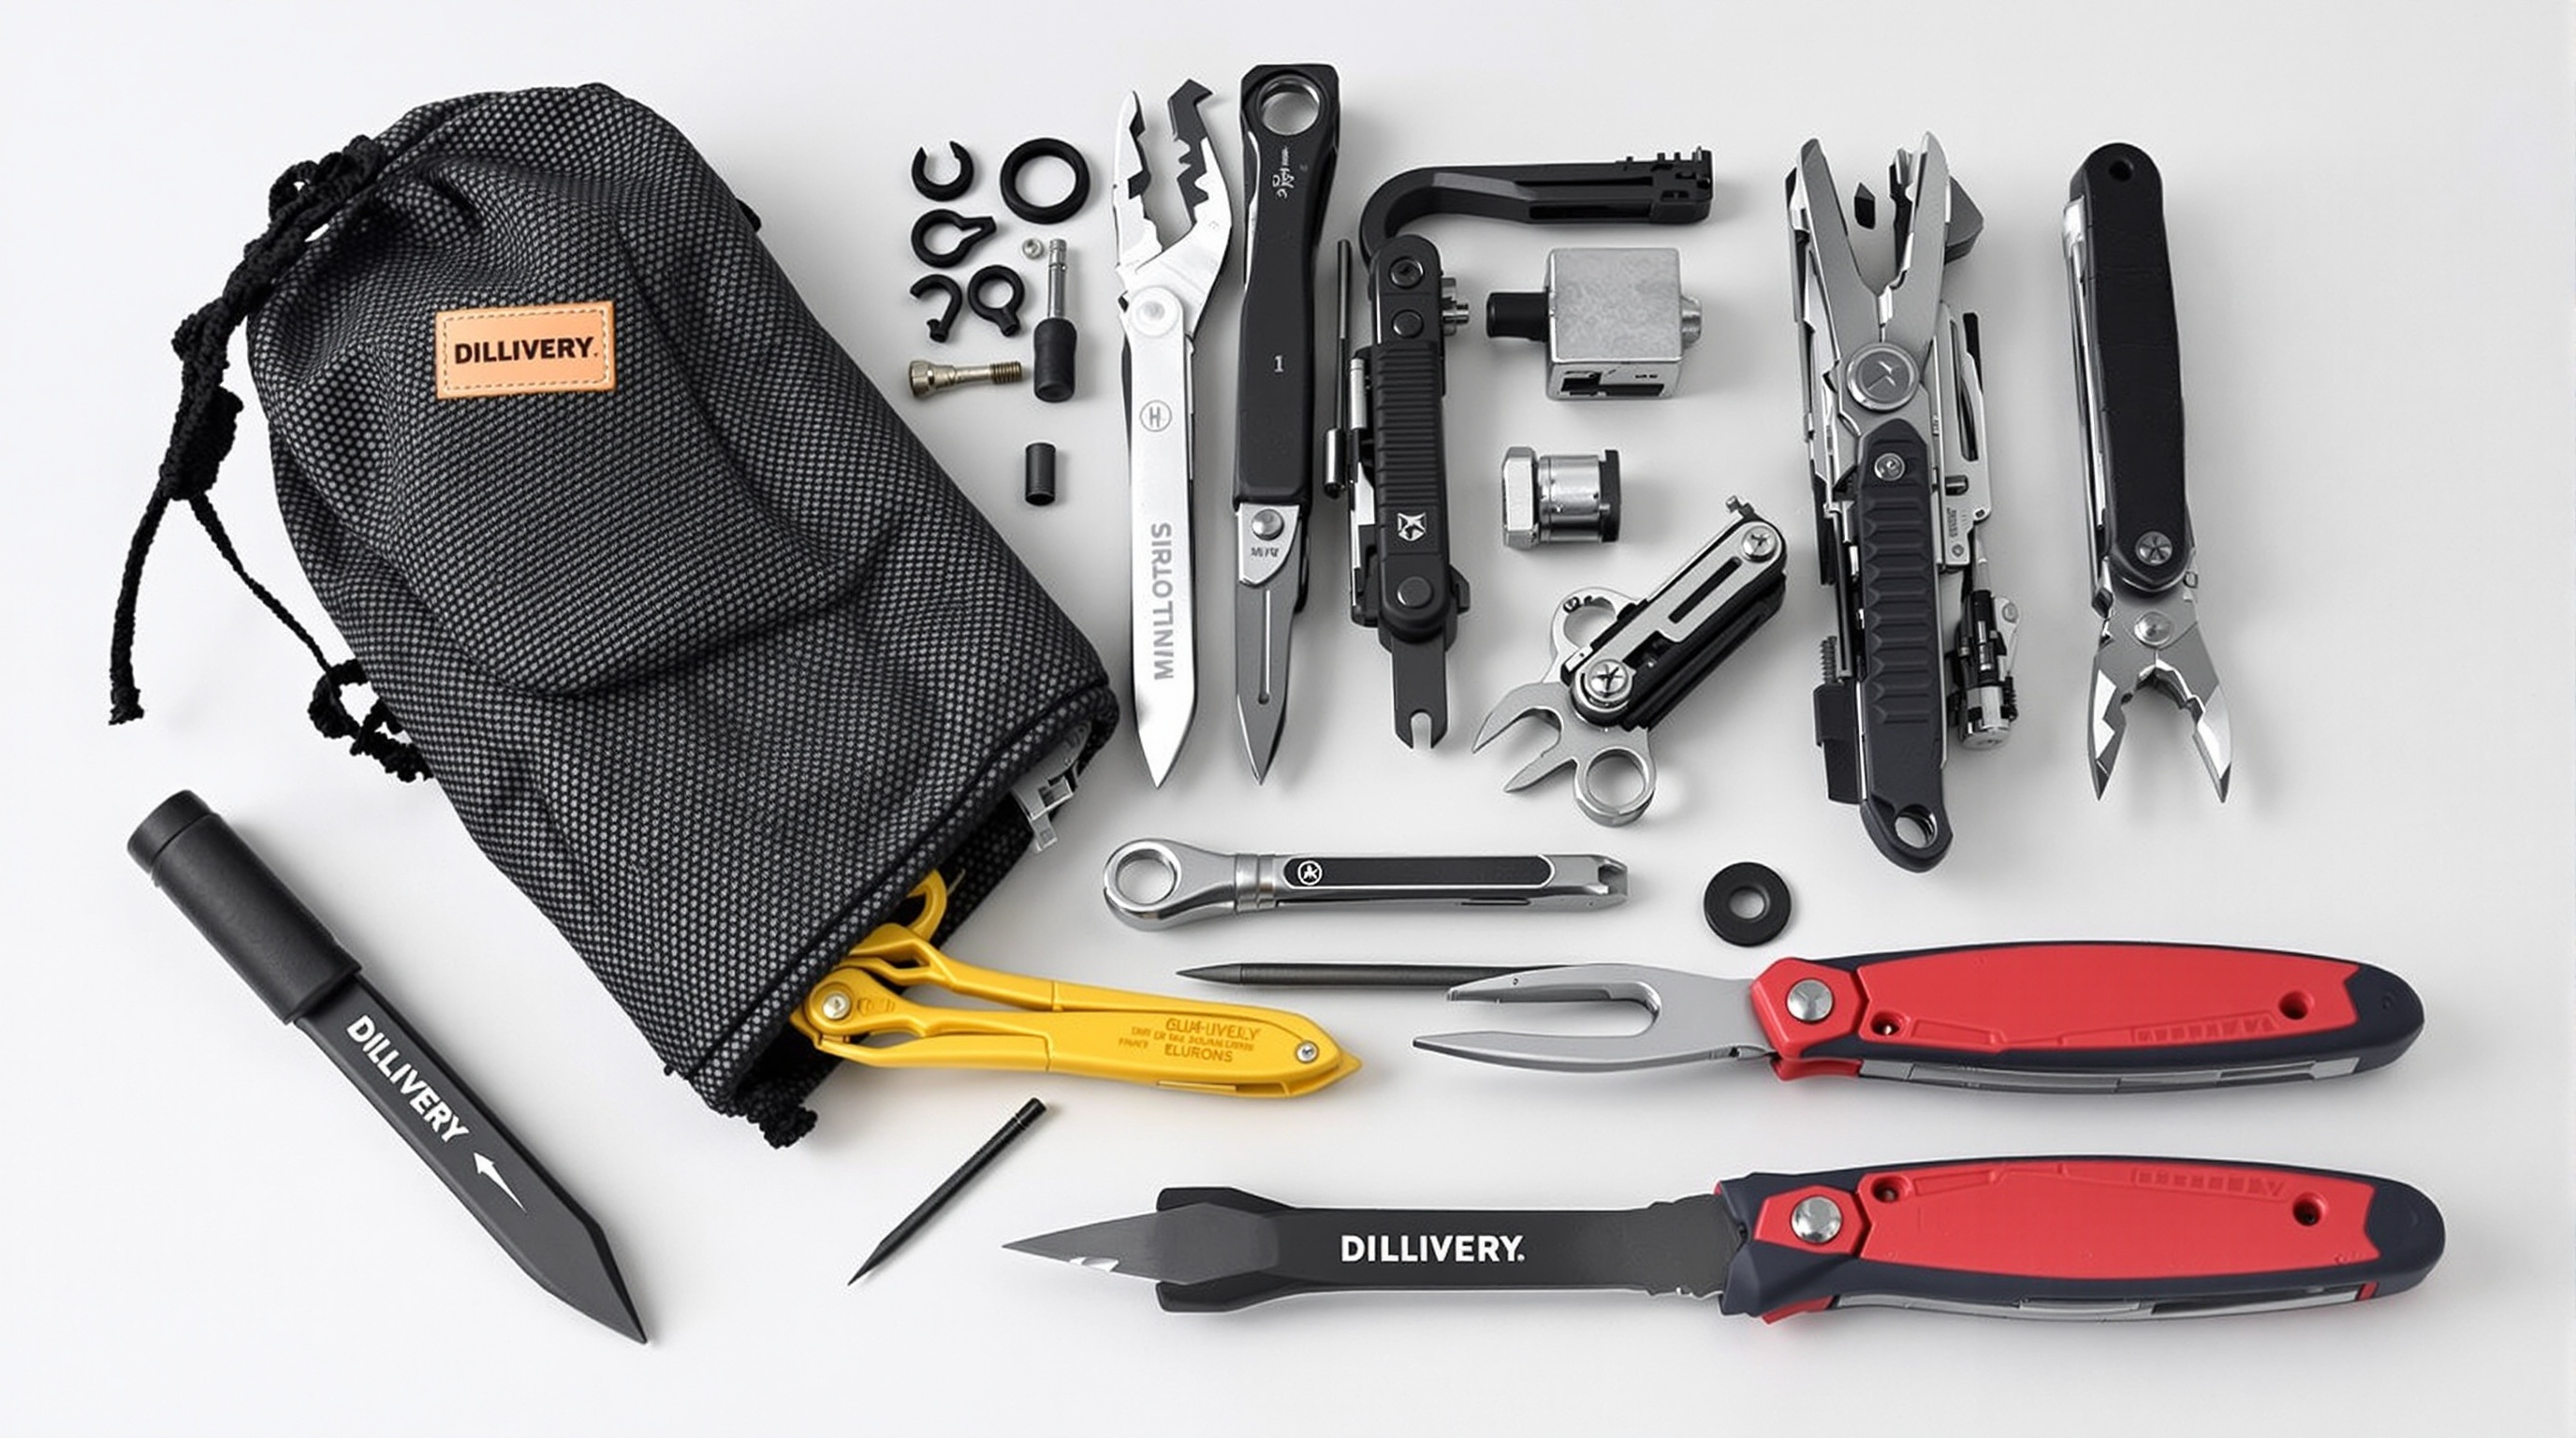
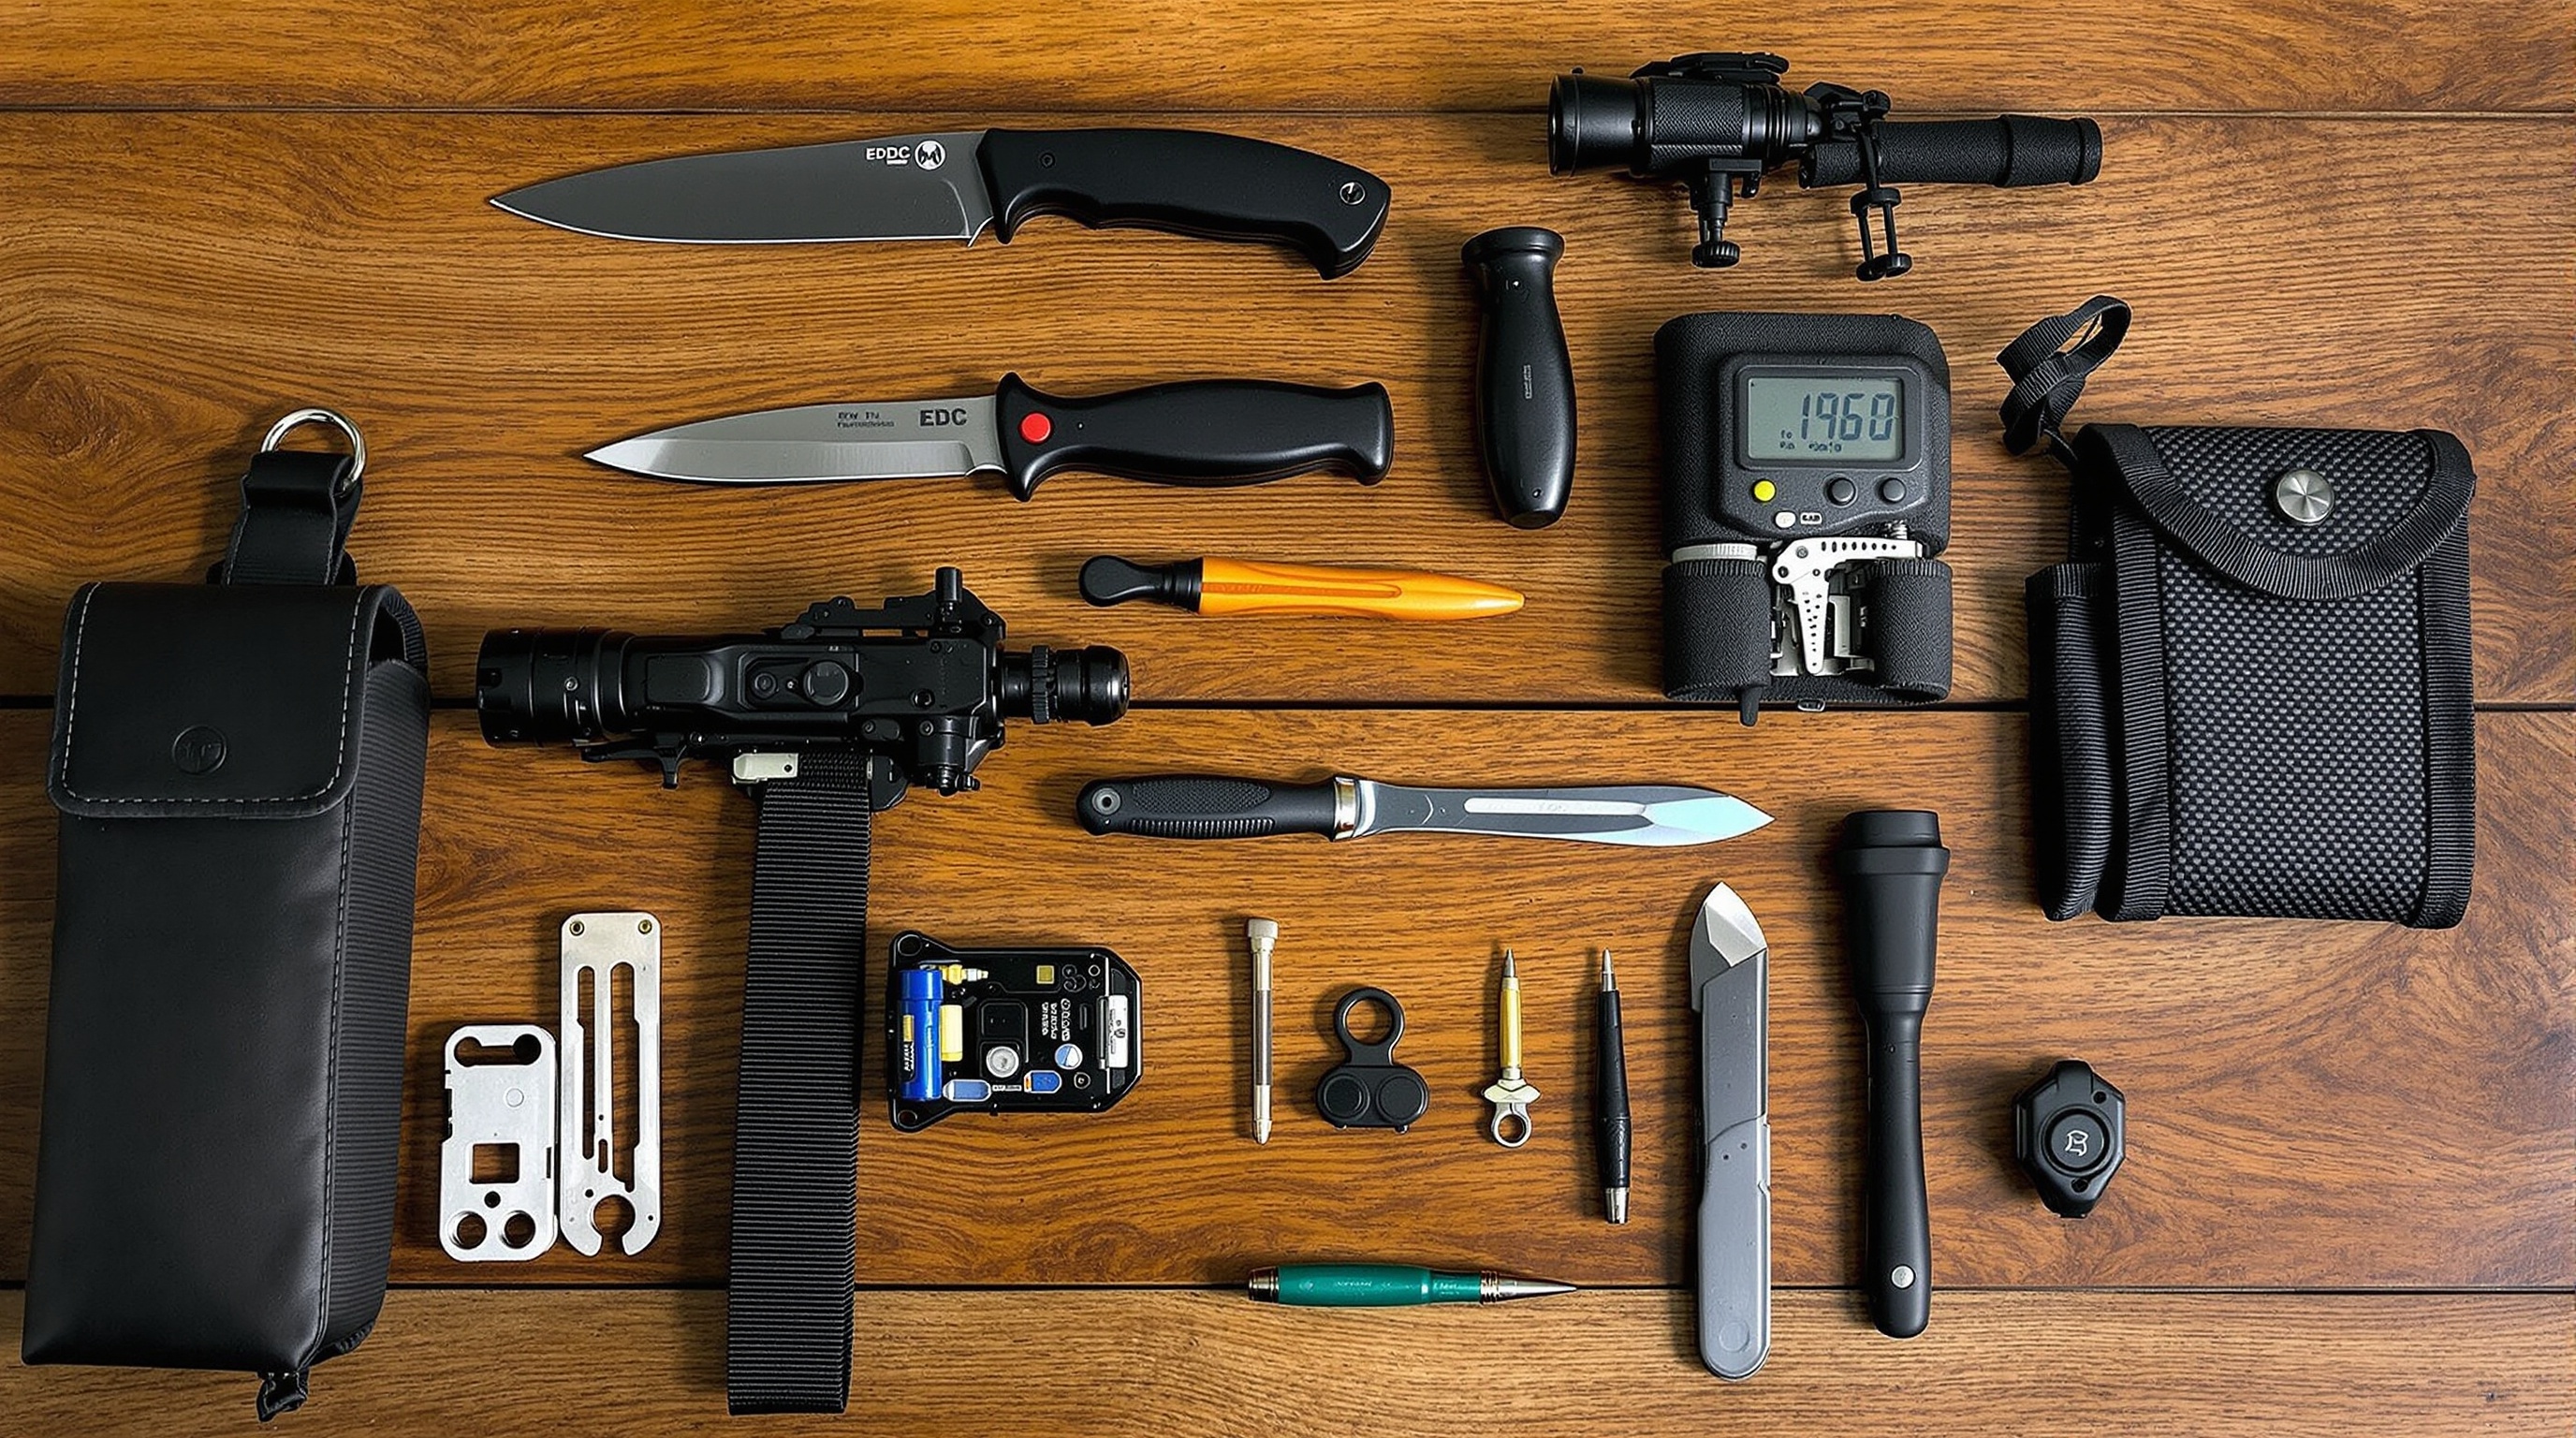
Core Bushcraft Tools
In any bushcraft endeavor, having the right tools is crucial for both efficiency and safety. These tools are extensions of the bushcrafter and are relied upon for a wide range of tasks including shelter building, fire preparation, food processing, and navigation. Below is an overview of the most essential bushcraft tools, along with their uses and key considerations.
Bushcraft Knife
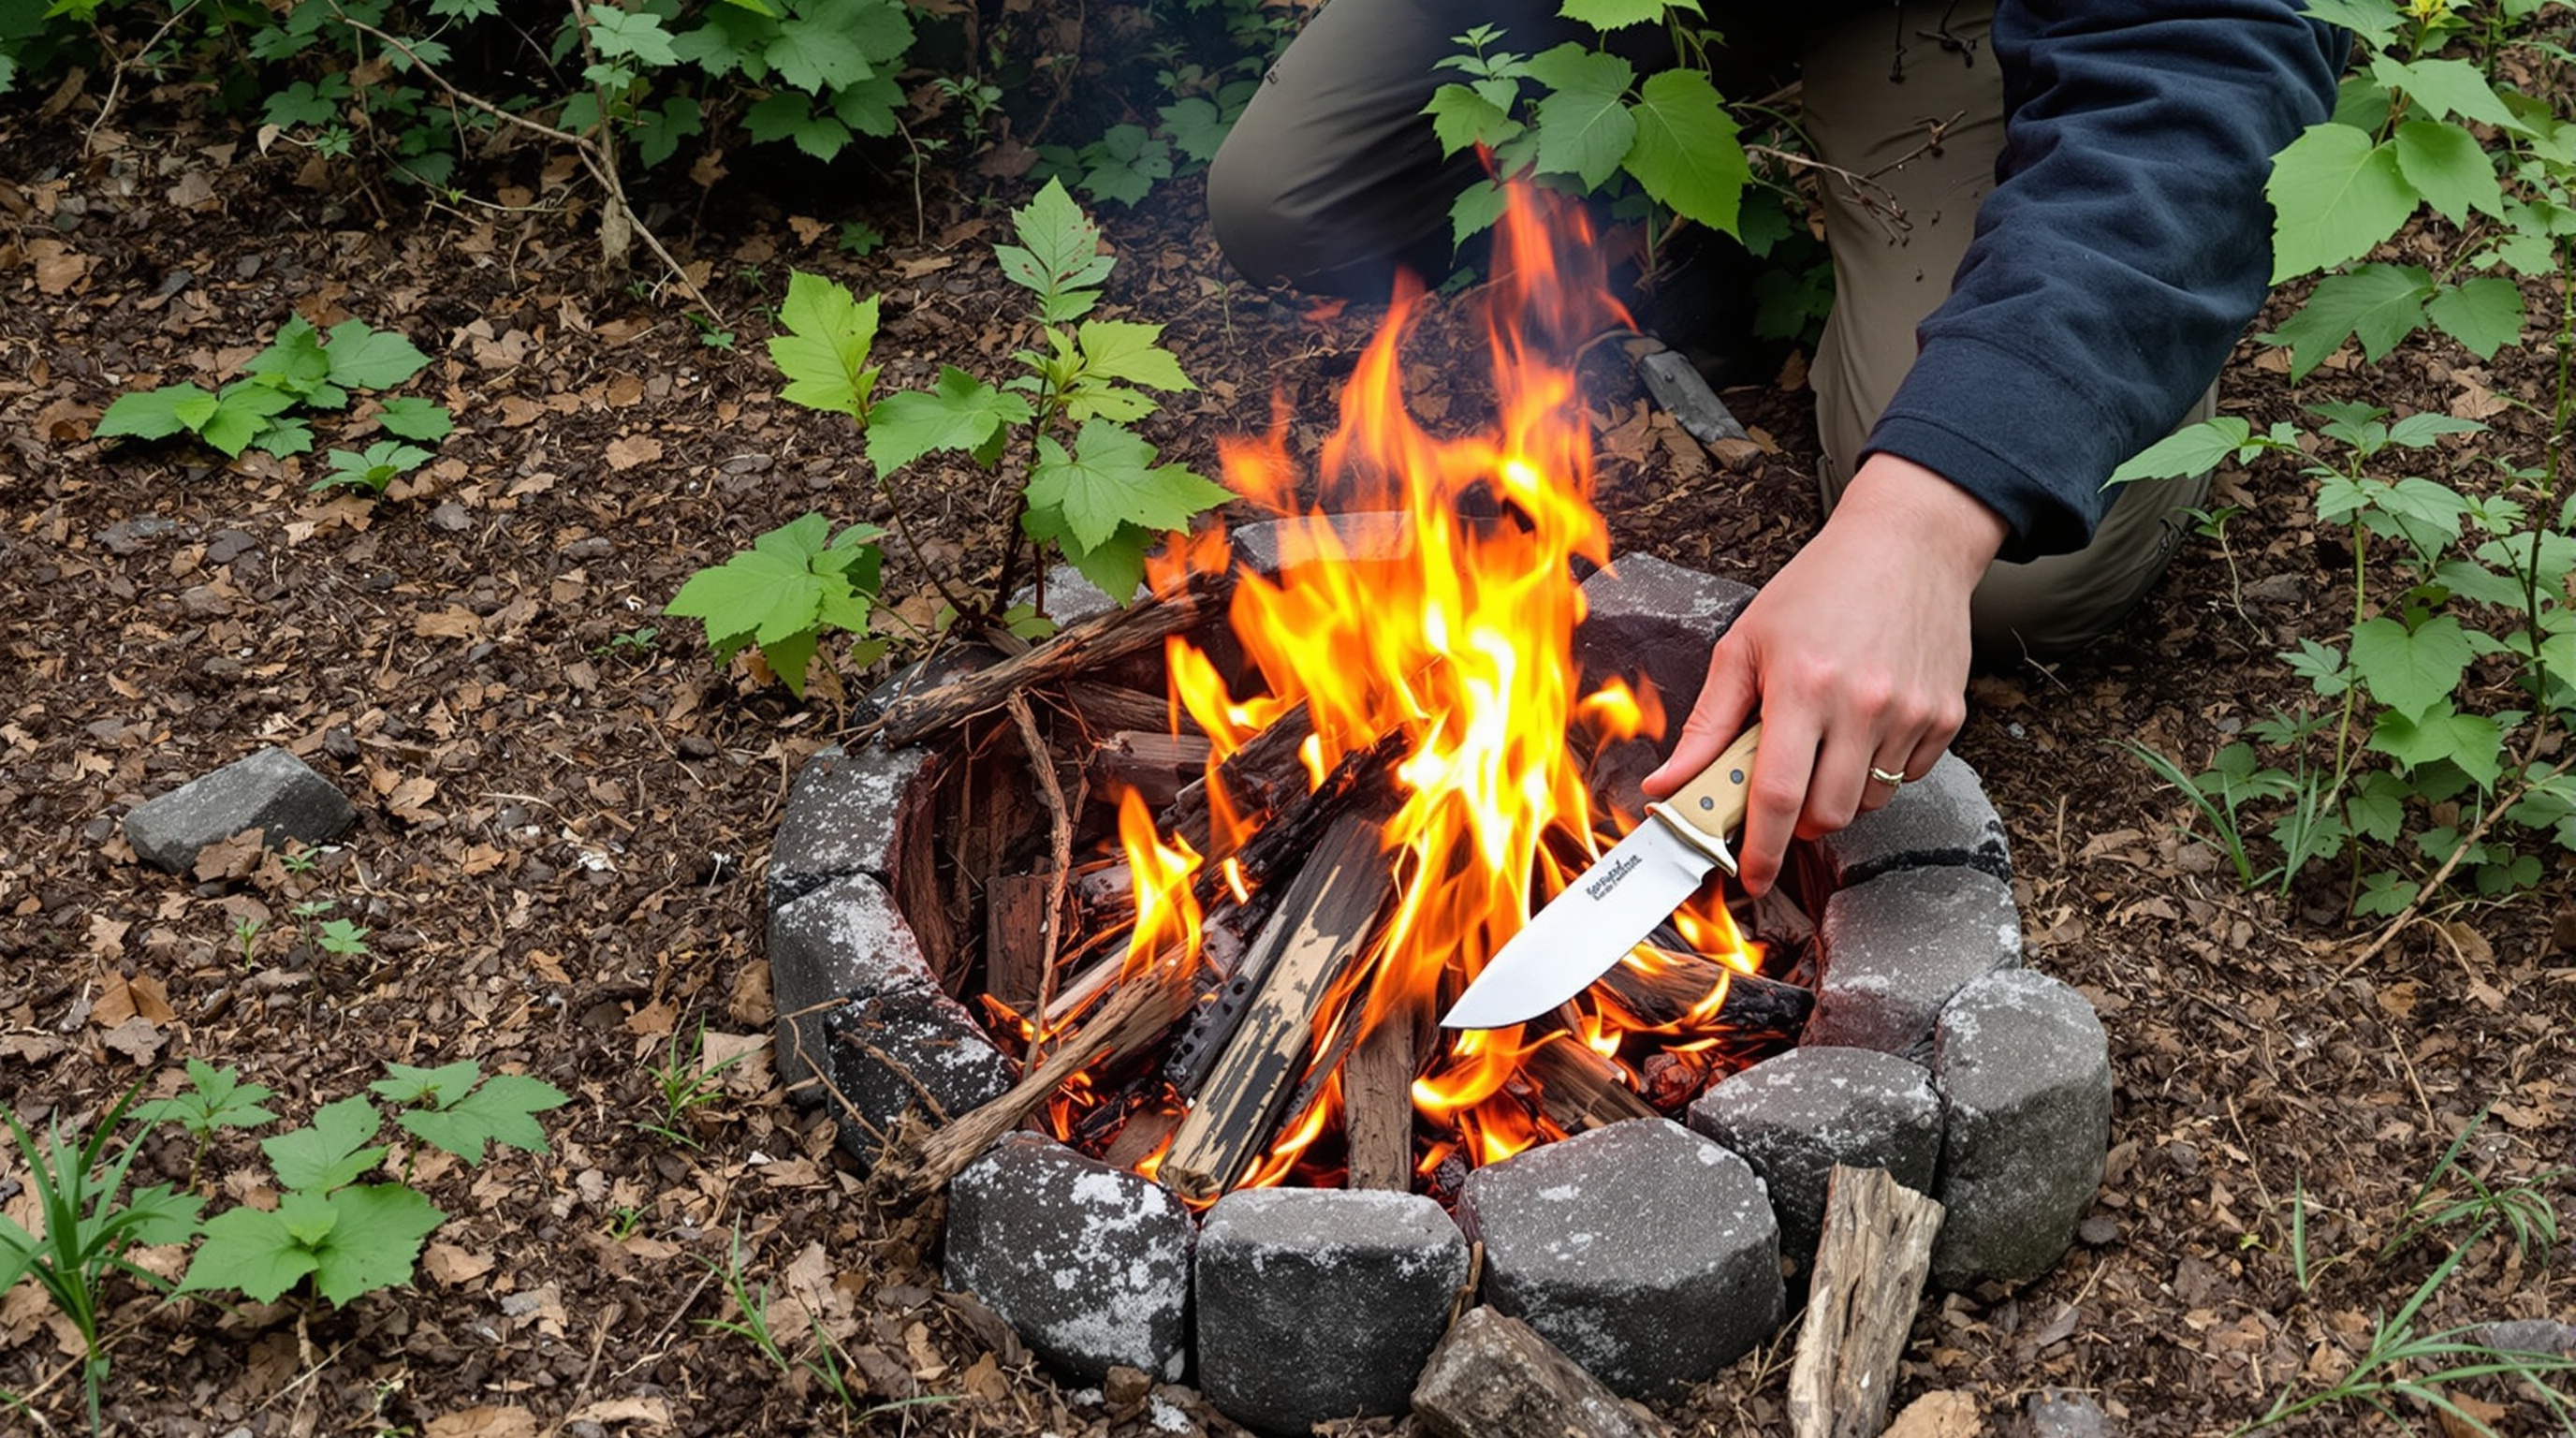
A bushcraft knife is perhaps the most important tool in the kit. It is a versatile implement used for carving, cutting, food preparation, fire-making, and even self-defense in some cases.
Key Features to Consider:
- Full tang construction for durability
- Blade length between 3.5 to 5 inches
- High carbon steel for ease of sharpening and edge retention
- A comfortable and grippy handle
Common tasks include feather sticking for fire starting, carving notches in wood for traps or shelters, and general utility cutting. Maintaining the knife by keeping it clean, dry, and sharp is essential for long-term use.
Folding Saw
A folding saw is an invaluable addition for processing wood. It allows for quick and efficient cutting of branches and logs, especially when building shelters or gathering firewood.
Advantages:
- Lightweight and compact
- Safer and easier to use than a hatchet for many users
- Ideal for cutting hardwood efficiently
Look for a saw with a sturdy locking mechanism and replaceable blades. Folding saws are particularly useful in dense forests where deadfall needs to be processed regularly.
Axe or Hatchet
Axes and hatchets are traditional bushcraft tools used for chopping wood, splitting logs, and sometimes for hammering stakes.
Types:
- Hatchet: Smaller and easier to carry, ideal for light splitting and carving
- Axe: Larger and more powerful, suitable for heavy chopping tasks
When selecting a hatchet or axe, the balance between portability and functionality is key. High-carbon steel heads and hickory or composite handles are preferred for strength and shock absorption.
Firesteel (Ferrocerium Rod)
A firesteel is a reliable fire-starting tool that works in all weather conditions. When struck with a steel striker or the spine of a bushcraft knife, it produces hot sparks capable of igniting dry tinder.
Benefits:
- Durable and long-lasting (thousands of strikes)
- Works when wet
- Lightweight and compact
Firesteels are often paired with natural tinders like birch bark, fatwood, or homemade char cloth for consistent fire-starting success in the field.
Cordage
Cordage, such as paracord or natural fibers like jute or hemp, is essential for shelter building, gear repair, and making traps or snares.
Popular Options:
- 550 Paracord: Strong, lightweight, and contains inner strands for additional utility
- Bank line (tarred twine): Tangle-resistant and excellent for knot retention
Bushcrafters often learn to make their own cordage from plant fibers or animal sinew, but having reliable manufactured cordage on hand is always a smart choice.
Tarp or Shemagh
While not a tool in the traditional sense, a tarp or large shemagh serves many bushcraft purposes. It can be used for shelter, rain collection, ground cover, or even as a makeshift pack or stretcher.
Features to Look For:
- Lightweight and waterproof material
- Reinforced grommets for tie-downs
- Compact when folded
A shemagh or large scarf can also serve multiple functions, including as sun protection, a sling, or a pre-filter for water.
Container or Metal Pot
A durable container such as a stainless steel bottle or metal pot is critical for water collection, purification (especially boiling), and cooking.
Recommended Features:
- Single-wall stainless steel construction (safe for use over fire)
- Wide mouth for ease of cleaning and filling
- Nesting design with cup or stove components
In bushcraft, the ability to boil water is a cornerstone of safe wilderness living, making a metal container a non-negotiable item.
Sharpening Tools
Keeping blades sharp is necessary for both performance and safety. Compact sharpening stones or pocket sharpeners are ideal for field use.
Common Options:
- Diamond stones: Durable and efficient
- Ceramic rods: Good for honing and light touch-ups
- Leather strop: For polishing the edge after sharpening
Regular maintenance ensures your tools remain functional and reliable, preventing accidents or unnecessary fatigue.
Navigation Tools
Even in bushcraft, where you're often intentionally off-grid, basic navigation tools are essential.
Essentials:
- Compass: A reliable magnetic compass with a sighting mirror
- Map: Topographic maps of the area
- Knowledge of celestial navigation basics
While GPS devices are helpful, bushcraft emphasizes traditional skills. Learning how to read a map and use a compass is a fundamental part of wilderness self-reliance.
Multi-tool (Optional)
Though not a replacement for dedicated tools, a multi-tool can provide added functionality in a compact form. Features may include pliers, small blades, screwdrivers, and can openers.
Use Cases:
- Minor gear repairs
- Improvised tasks
- Emergency situations
Choose a high-quality model with locking components and corrosion-resistant materials.
Final Note on Tool Selection and Use
In bushcraft, quality and versatility matter more than quantity. Each tool should serve multiple purposes and be durable enough to withstand harsh conditions. With proper care and skill, these core tools will enable you to live comfortably and safely in the wild, fostering confidence and self-reliance in nature.
Fire Making Fundamentals
Mastering fire making is a cornerstone of bushcraft. Fire provides warmth, enables cooking, purifies water, and can boost morale in a survival situation. Understanding the science and art behind fire making is essential for anyone seeking self-reliance in the wilderness.
The Fire Triangle
At its core, fire requires three elements: heat, fuel, and oxygen. This is known as the fire triangle. Remove any of these components, and the fire will not ignite or will extinguish. Successful fire making involves carefully balancing these elements—from selecting the right materials to ensuring adequate airflow.
Choosing the Right Location
Before starting a fire, selecting a safe and effective location is crucial. The spot should be:
- Sheltered from wind and rain
- On bare soil or a designated fire pit to prevent wildfires
- Away from overhanging branches and dry brush
Clear a space at least three feet in diameter, down to the soil, and surround it with rocks if available to contain the fire.
Fire Starting Methods
There are several methods for starting a fire in the bush, each with varying degrees of difficulty and reliability. The most common include:
Ferrocerium Rod (Ferro Rod)
A ferro rod produces a shower of hot sparks when scraped with a hard edge, such as the back of a knife. It's highly reliable in wet conditions and a staple in any bushcrafter’s kit.
Flint and Steel
This traditional method involves striking a piece of high-carbon steel against flint rock to create sparks. While it requires practice, it's a dependable technique for wilderness use.
Bow Drill
A primitive and effective method, the bow drill uses friction to create an ember that can be transferred to a tinder bundle. It demands skill and patience but is a valuable survival technique.
Solar and Chemical Methods
These include using a magnifying lens to focus sunlight or employing chemical reactions (like mixing potassium permanganate with glycerin) to start a fire. While less commonly used, these methods can be useful in specific scenarios.
Selecting Fire Materials
A successful fire requires three types of materials:
- Tinder: Highly flammable material that catches a spark easily. Examples include dry grass, birch bark, cotton balls with petroleum jelly, and feather sticks.
- Kindling: Small sticks and twigs that catch fire from the burning tinder and begin to build heat.
- Fuelwood: Larger branches and logs that sustain the fire once it is established.
All materials should be as dry as possible. Collecting and preparing tinder in advance is a key step in fire preparedness.
Fire Lays and Structures
Different fire lays serve different purposes. Some of the most practical include:
- Teepee Fire: Good for quick ignition and boiling water. Arrange kindling and fuel in a cone shape around the tinder.
- Log Cabin Fire: Useful for longer burns and cooking. Stack logs in a square shape with tinder and kindling in the center.
- Dakota Fire Hole: A stealthy and efficient underground fire pit that minimizes smoke and wind interference.
Choosing the right fire structure depends on the situation, weather conditions, and intended use.
Maintaining and Extinguishing the Fire
Once lit, a fire requires maintenance. Feed it regularly with fuelwood, and adjust the structure to maintain airflow. Avoid overcrowding the fire, which may choke it of oxygen.
Equally important is safe and thorough extinguishing:
- Douse the fire with water
- Stir the ashes to ensure all embers are out
- Repeat until the area is cool to the touch
Always follow Leave No Trace principles and ensure your fire is completely extinguished before leaving camp.
Practicing Fire Safety
Fire making is powerful but demands responsibility. Always observe local fire regulations, especially during dry seasons. Keep water or sand nearby to control flare-ups, and never leave a fire unattended.
By understanding and practicing these fire making fundamentals, bushcrafters equip themselves with one of the most vital wilderness survival tools.
Basic Shelter Building
Shelter building is one of the core elements of bushcraft and a fundamental survival skill in the wilderness. A well-constructed shelter protects you from the elements, conserves body heat, and offers psychological comfort in unfamiliar or challenging environments. Understanding how to assess your surroundings and utilize natural resources effectively is critical for building efficient and sustainable shelters.
Assessing the Environment
Before constructing a shelter, it’s essential to evaluate your environment:
- Location: Choose a dry, elevated area away from water bodies to avoid flooding. Avoid areas beneath dead trees or branches (“widow-makers”) that may fall.
- Wind Direction: Position the entrance of your shelter away from prevailing winds.
- Natural Resources: Look for areas abundant in materials like fallen branches, leaves, pine needles, and bark.
Types of Bushcraft Shelters
Different environments and weather conditions call for different types of shelters. Here are some basic bushcraft shelters:
Lean-To Shelter
A lean-to is one of the simplest and quickest shelters to build:
- Construction: Place a long, sturdy branch horizontally between two trees or supports. Lean shorter branches against it on one side, then cover with insulating materials like leaves or pine boughs.
- Best Use: Suitable for mild weather and when you have a fire positioned in front for warmth.
A-Frame Shelter
This structure offers more protection from the elements:
- Construction: Form a triangular “A” shape using two branches and a ridgepole. Lean smaller branches along both sides and cover with debris and foliage.
- Best Use: Provides better insulation and wind resistance than a lean-to.
Debris Hut
Ideal for cold environments, the debris hut is designed to retain body heat:
- Construction: Create a frame with a central ridgepole and angled support branches. Cover completely with leaves, moss, and other insulating materials, making it compact to trap warmth.
- Best Use: Excellent for cold or wet conditions when conserving heat is a priority.
Essential Shelter Building Materials
When constructing a shelter, you’ll typically use:
- Structural Materials: Long, sturdy branches or fallen logs for frames.
- Insulation: Leaves, pine needles, moss, and grasses for warmth and coverage.
- Binding: Use natural cordage like vines, roots, or bark strips to secure components.
Tools That Help
While many shelters can be built with minimal tools, having the following can significantly ease the process:
- Bushcraft Knife: For cutting wood, carving notches, and preparing materials.
- Folding Saw or Hatchet: For processing larger branches or logs.
- Tarp or Emergency Blanket: Useful for waterproofing or additional insulation.
Shelter Considerations in Different Seasons
- Winter: Prioritize insulation and wind protection. Snow can be used for added insulation.
- Rainy Season: Elevate your bed off the ground and ensure a sloped roof for water runoff.
- Hot Climates: Focus on ventilation and shade; use natural materials to create airflow.
Practicing Shelter Building
Skill in shelter construction improves with practice:
- Start Small: Practice building basic lean-tos and debris huts in your backyard or local woodland.
- Adapt and Improvise: Use the materials available and adjust your design to the environment.
- Test and Evaluate: Spend a night in your shelter to assess its effectiveness and make improvements.
Understanding shelter construction is not only practical for survival but also enhances your connection with the natural world. With practice, you’ll gain confidence in your ability to respond to the elements using only the resources around you.
Water and Food Basics
Understanding how to find, collect, and prepare water and food in the wilderness is a core element of bushcraft. These are not just survival necessities but essential skills that promote self-reliance and a deeper connection with nature.
Finding and Purifying Water
Water is the most immediate survival priority. The human body can survive for weeks without food, but only a few days without water. In bushcraft, locating a reliable water source is a fundamental skill.
Natural Water Sources
Look for natural sources such as:
- Streams and rivers
- Springs
- Rainwater collected in natural depressions
- Morning dew on grass or leaves
- Snow and ice (melt before drinking)
Avoid stagnant water from ponds or swamps unless no other options are available, as it often contains harmful bacteria and parasites.
Water Purification Techniques
All natural water sources should be purified before drinking. Common purification methods include:
- Boiling: Bring water to a rolling boil for at least one minute (three minutes at higher altitudes). This kills most pathogens.
- Filtration: Use a portable water filter or create a DIY filter with sand, charcoal, and cloth.
- Chemical Treatment: Water purification tablets or drops (e.g., iodine or chlorine dioxide) are lightweight and effective.
- Solar Disinfection (SODIS): Fill a clear plastic bottle with water and leave it in direct sunlight for 6–8 hours.
Bushcrafters learn to combine methods when needed — for example, filtering cloudy water before boiling or treating with tablets.
Procuring Food in the Wild
While water is a short-term priority, food becomes increasingly important over time. Bushcraft teaches sustainable and respectful ways to gather food without overexploiting natural resources.
Foraging
Wild edibles are often overlooked but can be incredibly nutritious. Foraging requires knowledge and caution to avoid poisonous plants. Common edible wild plants include:
- Dandelion (leaves and roots)
- Wild garlic
- Cattails
- Nettles
- Berries (only when properly identified)
Always follow the rule: “If in doubt, leave it out.” Foraging books specific to your region are a vital tool for safe identification.
Fishing
Fishing is a reliable and renewable way to source protein. Techniques vary, from building simple fish traps and using hand lines to crafting improvised spears.
Bushcraft encourages learning local fish species, their habits, and seasonal patterns. Always follow local fishing regulations and sustainable practices.
Hunting and Trapping
While more advanced and regulated, hunting and trapping can provide essential nourishment. Skills include:
- Tracking animal signs (prints, droppings, trails)
- Building primitive traps (e.g., deadfall, snares)
- Bow and arrow or sling use
Ethical hunting is a central tenet of bushcraft — take only what you need and use as much of the animal as possible.
Food Preparation and Preservation
Once food is obtained, it must be prepared safely. Cooking over an open fire is traditional in bushcraft and includes roasting, boiling in improvised containers, or stone cooking.
Preservation methods, such as smoking, drying, or curing with salt, extend the shelf life of food and are especially useful for longer outings.
Understanding the Rule of Threes
Bushcraft often references the “Rule of Threes” to prioritize needs:
- 3 minutes without air
- 3 hours without shelter in harsh conditions
- 3 days without water
- 3 weeks without food
This rule underscores the importance of water and food skills — not just for survival, but for maintaining strength, clarity, and morale in the wilderness.
Getting Started in Bushcraft
Embarking on your bushcraft journey doesn't require a remote wilderness or expensive gear. It begins with a mindset of self-reliance, curiosity, and a willingness to learn from nature. By starting with the basics and building your skills over time, you can develop the confidence and knowledge needed to thrive in a natural environment.
Beginning Skill Development
The first step in bushcraft is to identify and practice foundational skills that support survival and comfort in the outdoors. These typically include:
- Firecraft: Learn how to build and maintain a fire using natural materials. Start with basic methods like using a ferro rod or flint and steel before progressing to friction fire techniques such as the bow drill.
- Shelter building: Practice constructing simple shelters using materials like tarps, branches, and leaves. Understanding how to insulate and waterproof your shelter is crucial for weather protection.
- Water sourcing and purification: Learn how to locate water in the wild and make it safe to drink using methods such as boiling, filtering, or chemical purification.
- Knife skills: A dependable bushcraft knife is essential. Learn safe handling, basic carving, and how to use your knife for tasks like feather sticking, batoning wood, or preparing food.
Start by practicing these skills in a controlled environment such as your backyard or a local park before attempting them in more remote areas.
Training Opportunities
There are many ways to learn bushcraft skills:
- Books and manuals: Classic titles like “Bushcraft” by Mors Kochanski or “The Bushcraft Field Guide to Trapping, Gathering, and Cooking in the Wild” by Dave Canterbury offer detailed instruction.
- Online tutorials and videos: Platforms like YouTube host thousands of free bushcraft tutorials, including step-by-step demonstrations.
- Bushcraft courses: Many outdoor schools offer hands-on training in wilderness skills, ranging from weekend workshops to intensive multi-day programs.
- Mentorship: Joining a local bushcraft group or outdoor club can connect you with experienced practitioners who can offer guidance and feedback.
Consistent practice and learning from reputable sources will help you avoid common mistakes and build a solid foundation.
Safety Considerations
Safety should always be a top priority when engaging in bushcraft activities. Key safety tips include:
- Know your limits and don’t rush into complex scenarios without adequate preparation.
- Always inform someone of your location and expected return time when heading into the wild.
- Carry a basic first aid kit and know how to use it.
- Learn and follow local regulations regarding fire use, knife carrying, and land access.
- Dress appropriately for the weather and terrain, and pack enough food and water.
Respecting the environment and practicing Leave No Trace principles ensures that natural areas remain preserved for future bushcrafters.
Practice Locations
You don’t need to travel far to start practicing bushcraft. Suitable environments include:
- Your backyard: A great place to try fire-starting, carving, or setting up shelters.
- Local parks or forest reserves: Ideal for day trips and practicing navigation, tracking, or plant identification.
- Designated wilderness areas: With proper permissions, these areas offer more realistic conditions for developing advanced skills.
Always check the rules and regulations for each location, especially concerning open fires, foraging, or cutting vegetation.
Building Progression
Bushcraft is a progressive discipline. As your confidence grows, you can begin to:
- Spend more time outdoors, including overnight trips.
- Refine your skills with natural materials (e.g., building shelters with only what the forest provides).
- Try advanced techniques like primitive trapping, flint knapping, or making cordage.
- Learn to adapt your skills to different seasons and environments.
Documenting your experiences and reflecting on what worked — and what didn’t — will help you improve over time. Keep a journal or record your outings to track your development.
By starting slowly and practicing consistently, anyone can build the skills needed to feel at home in the wilderness.
Mastering bushcraft basics empowers you to explore nature with confidence and resilience. By learning core skills—like using essential tools, building shelters, and purifying water—you not only enhance your outdoor experiences but also build real-world self-reliance. Start small, practice often, and respect the environment along the way. Ready to step into the wild and learn more? Start by practicing one skill this week and grow your bushcraft journey from there.